POS
Features of URY POS
ℹ️ Note
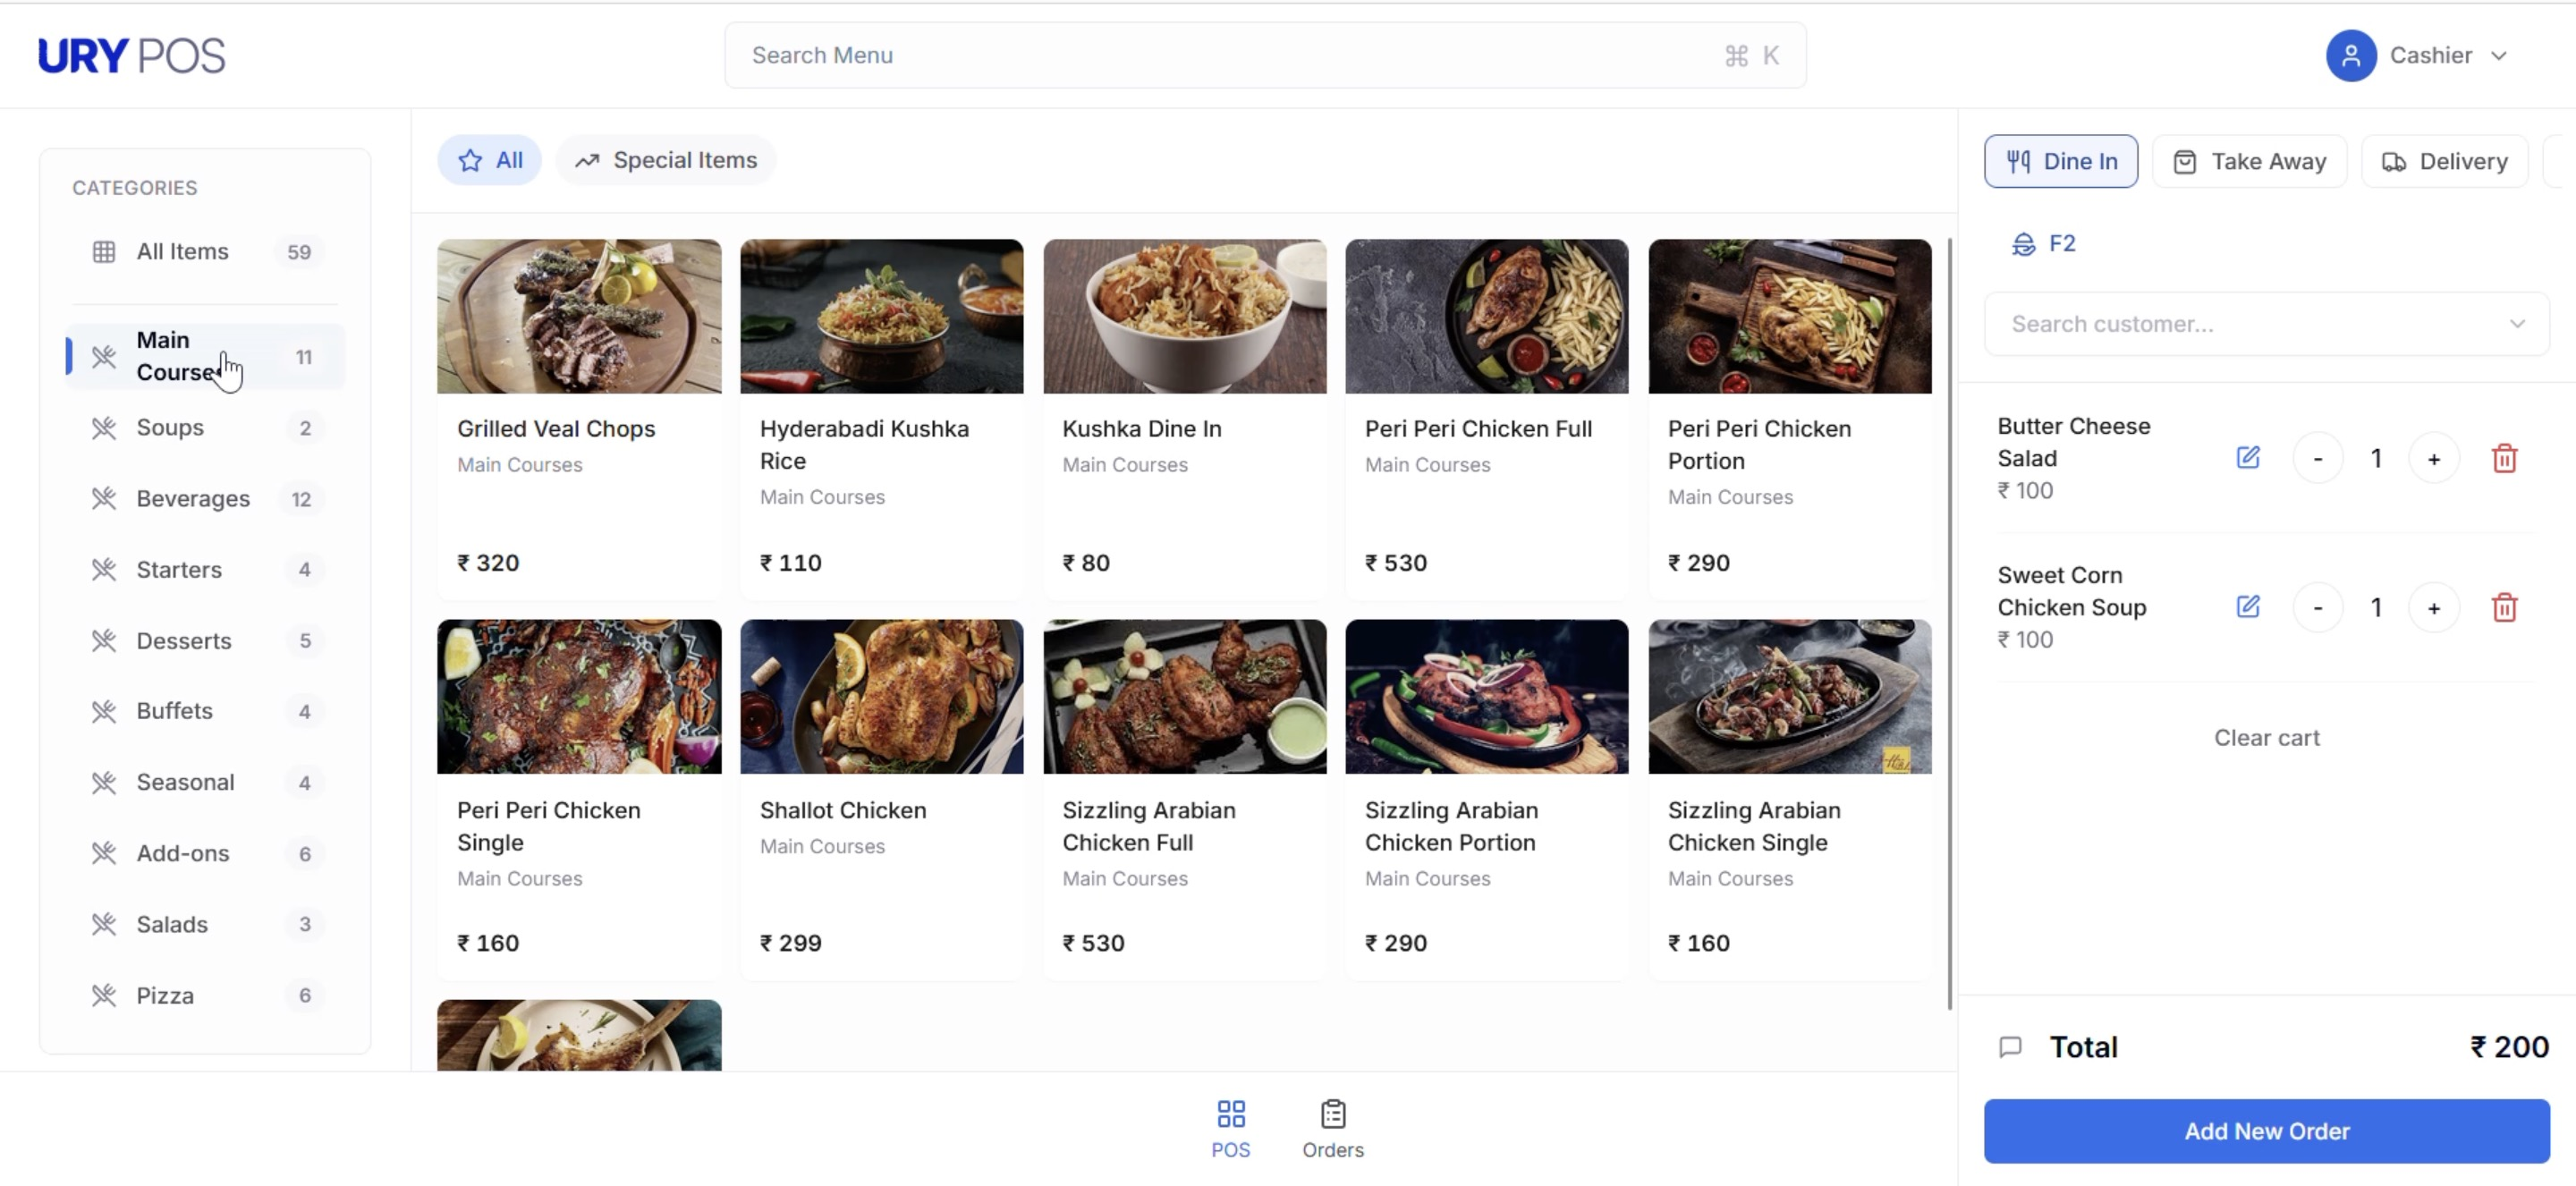
Version 2 is currently designed for POS machines/Desktop to handle cashiers and fast checkout.
For order takers and mobile support, use Version 1 POS, which is available at the path/urypos/Table.
-
Key Features
- All Major POS Features from Version 1 Retained
- Core functionalities from the previous version are preserved for consistency.
-
Unified Order-Taking Interface
- A single page handles the entire order flow—streamlining operations and reducing clicks.
-
Dynamic Header Search Bar
- In POS Page: Search for menu items.
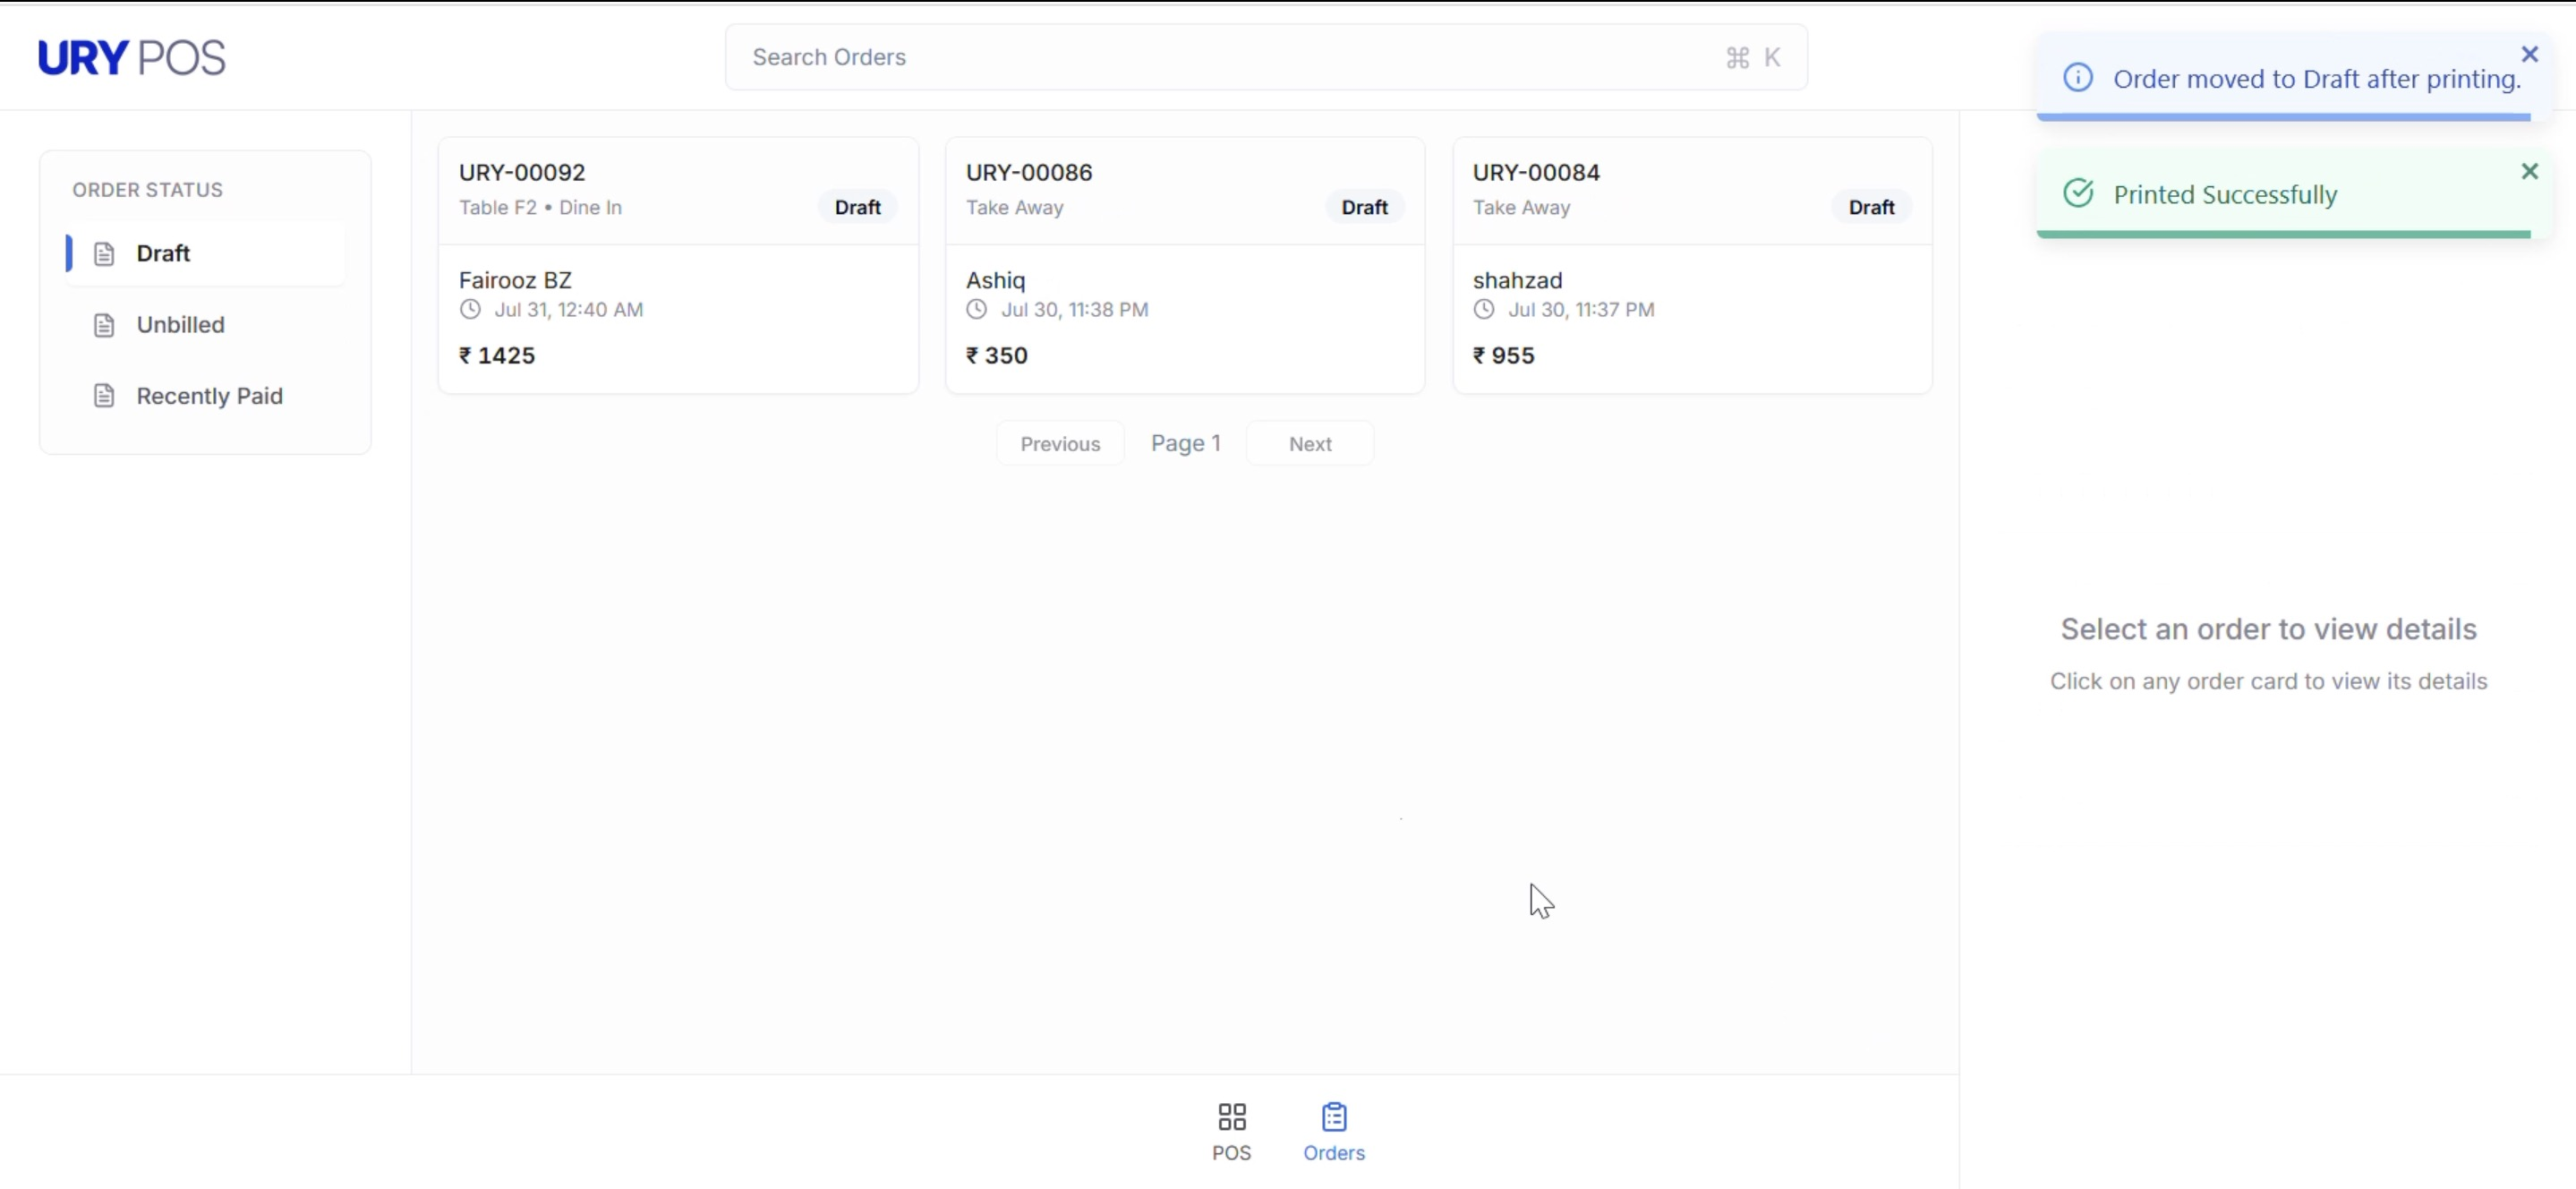
- In Order Page: Search by customer name, invoice ID, etc.
-
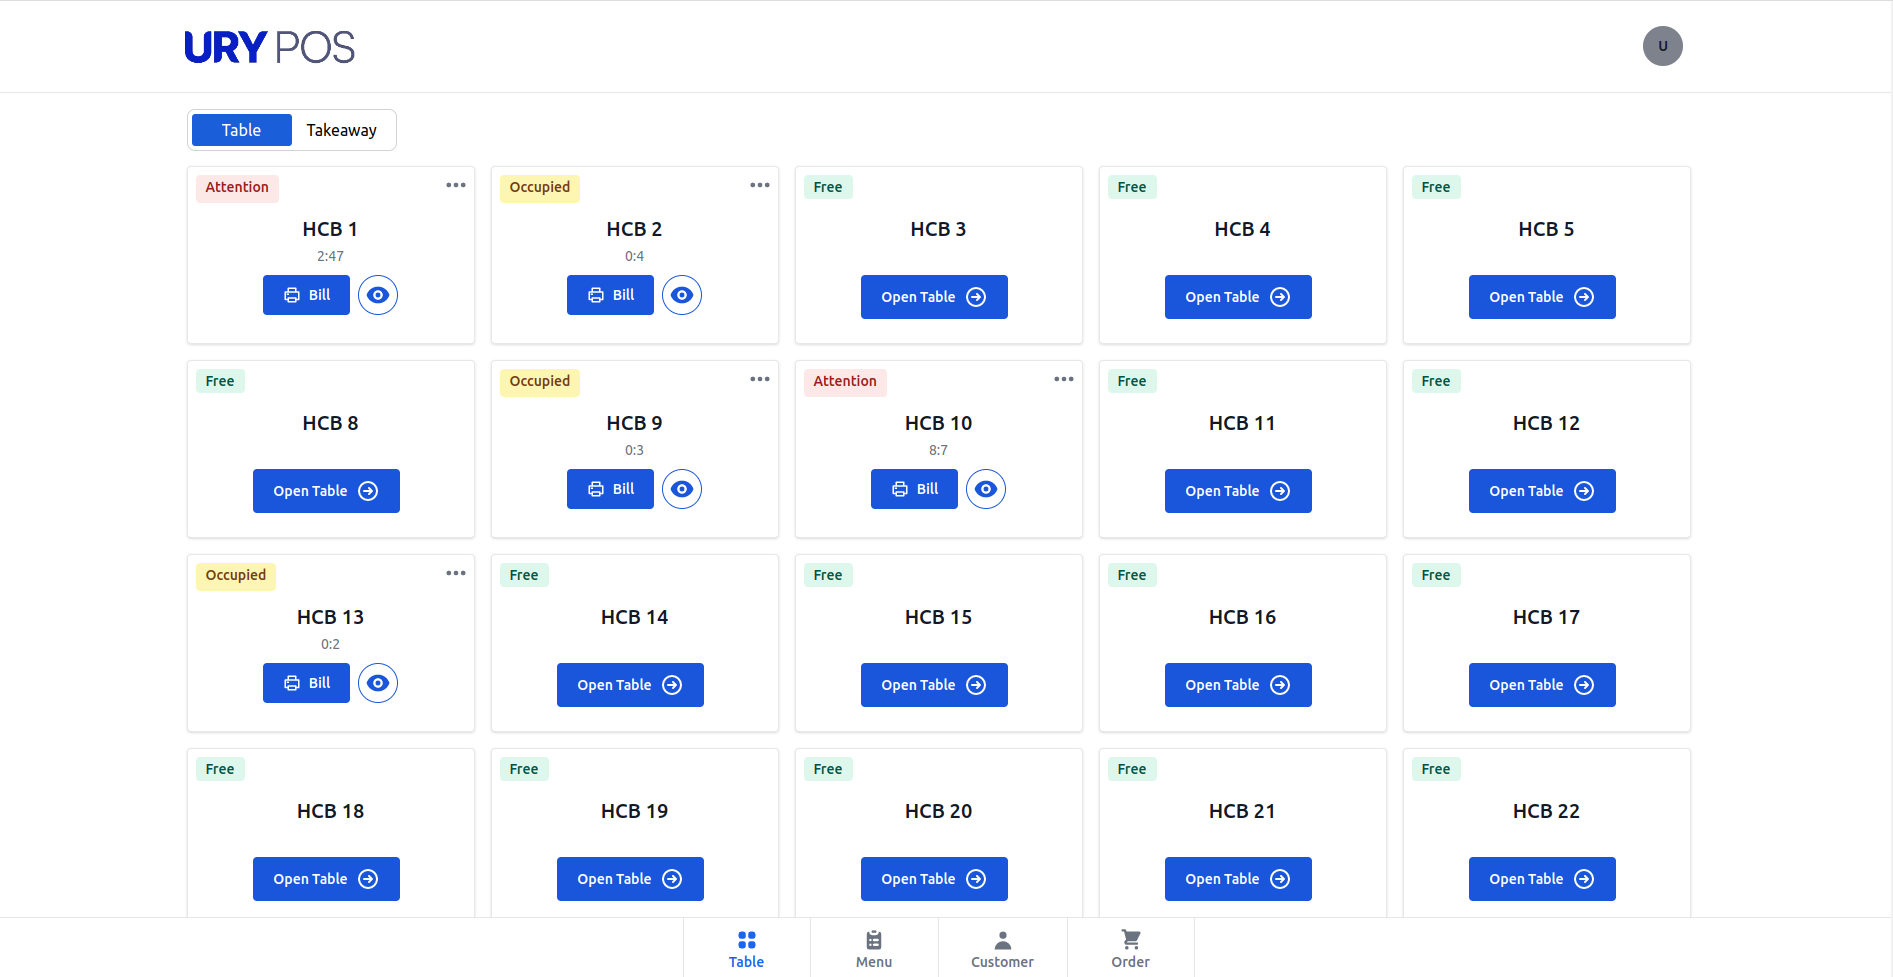
Table Selection for Dine-In Orders
- Tables are displayed using shapes and colors.
- Shapes are configurable via the URY Table Doctype.
-
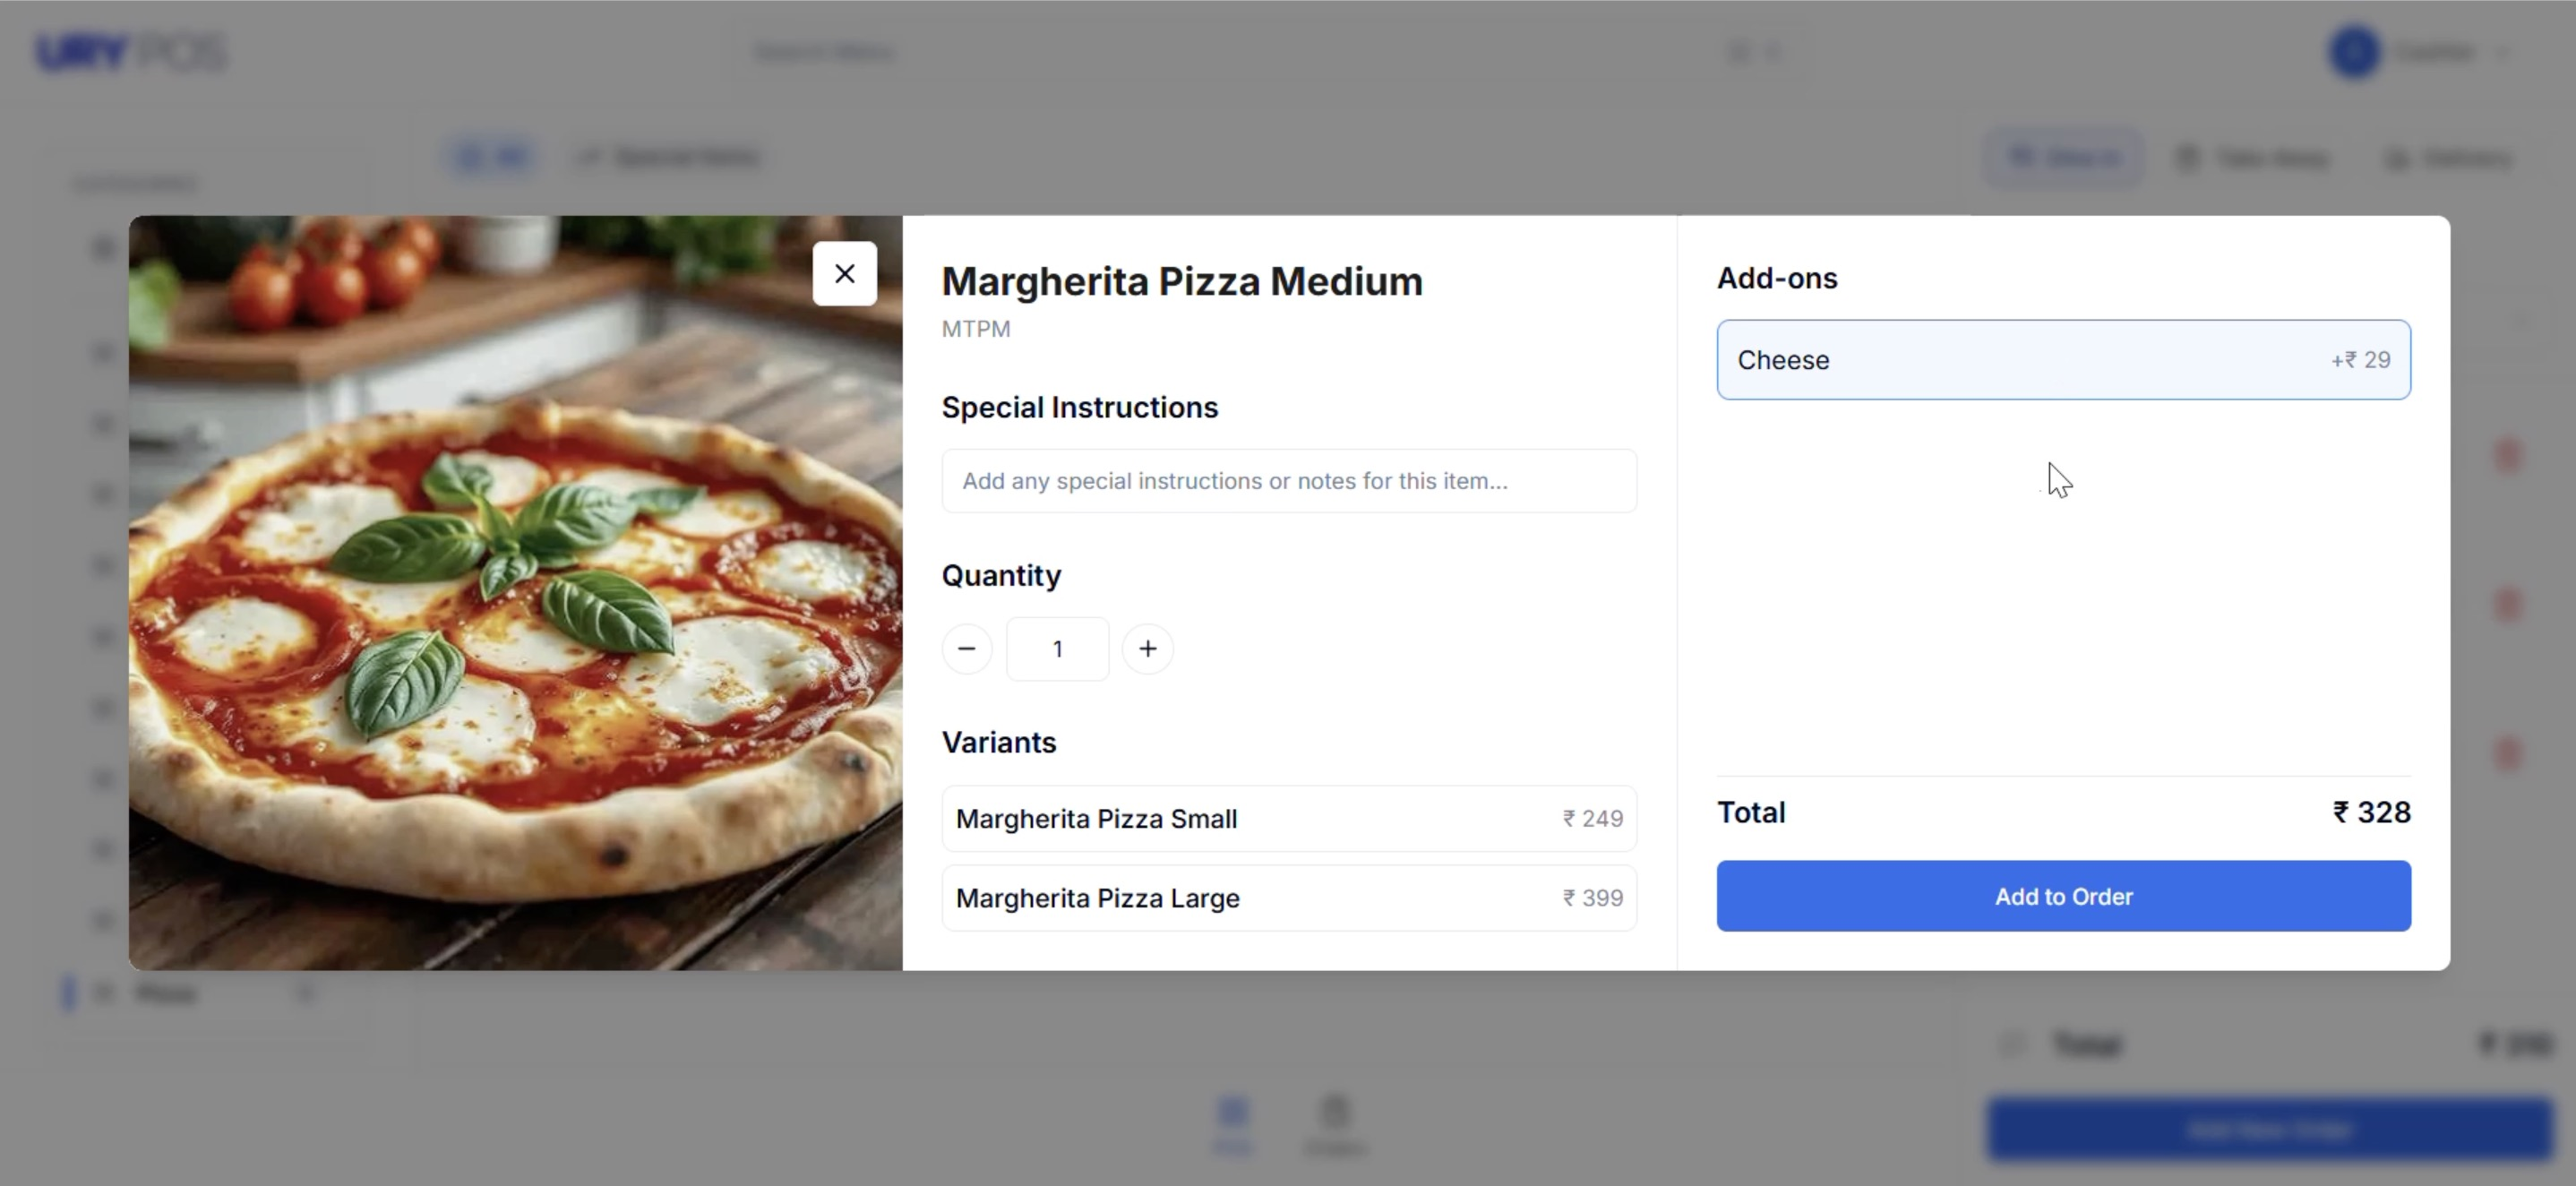
Menu Item Interactions
- Double Click: Opens detailed product page for customizations.
- Single Click: Instantly adds item to cart.
-
Sidebar Menu Course Navigation
- A left sidebar on the POS page allows quick switching between menu courses (e.g., Starters, Mains, Desserts).
Version 1
POS Opening and Closing
-
In URY POS , POS opening and closing can be done directly from the URY POS interface.
-
Triggering
Profile iconwill list POS Opeing and POS Closing buttons clicking it will direct to the respective pages -
It's important to note that if no POS Opening is initiated for the day, URY POS will not allow order taking, ensuring precise tracking of restaurant operations.
-
POS Closing:
- At the end of the day, the cashier can close POS by creating a POS Closing Voucher.
- Select the POS Opening Entry to retrieve all sales registered.
- On creating a POS Closing Voucher, all the POS invoices fetched for the selected period will be consolidated into one final Sales Invoice. The status of all the POS invoices will change from 'Paid' to 'Consolidated' once they are successfully consolidated into a sales invoice on closing.
Table Selection
-
URY POS table order taking workflow begins with table selection.
-
Tables are visually represented as cards, providing flexibility in the selection process
-
On the top left side of table have badges that indicated table status:
- Attention(Red): Indicates the table occupied for more than Table Attention time in POS Profile.
- Occupied(Yellow): Indicates occupied tables.
- Free(Green):Signifies available tables
- Active(Blue): Highlights the currently selected table.
-
Occupied table propeties
- On the top right of table has button that contains a drop down for table and captain transfer
- Table Transfer : Transfer an order from one table to another after placing the initial order. Clear the original table, and occupy the new table.
- Captain Transfer : Enables the transfer of an order from one captain to another after placing an order at a table.
Billbutton to generate a bill against the order, clearing the table.Eye iconbutton for navigate to the order page- Table time is displayed within each card
- On selecting a table with an existing order, will automatically navigate to the menu page.
- On the top right of table has button that contains a drop down for table and captain transfer
Menu Selection
-
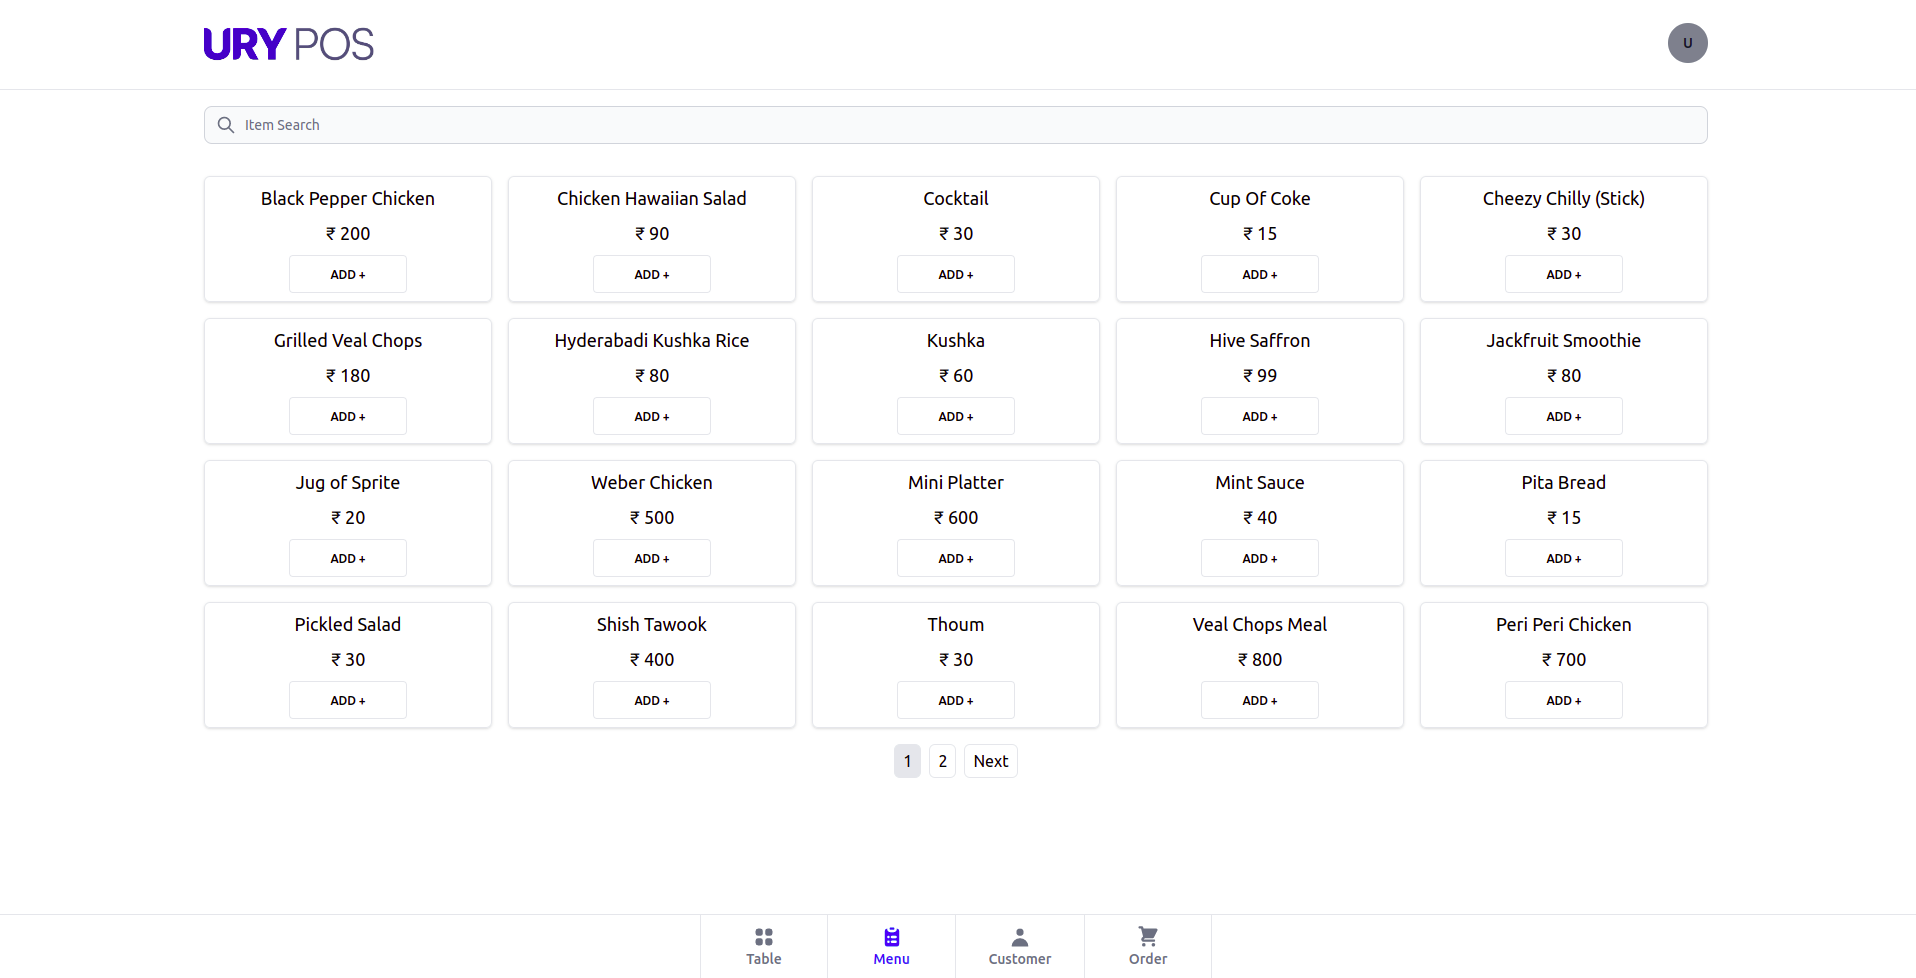
Search bar to quickly locate specific menu items, enhancing speed and accuracy during busy periods.
-
Toggle visibility of menu item image based on "View Item Image" checkbox in POS profile.
-
Menu filtering with Button All - Display all menu item. Priority - displays only prioritized items.
-
Menus are presented in a card format which includes the menu name, selected quantity of the item , and +/- buttons for adjusting quantities.
-
For precise quantity adjustments, users can click on the quantity display, triggering a dialogue box for easy modification.
Order Taking
-
This is the Key step of restaurant work flow.
-
Takeaway order can be done by directly selecting menu items and adding customer details
-
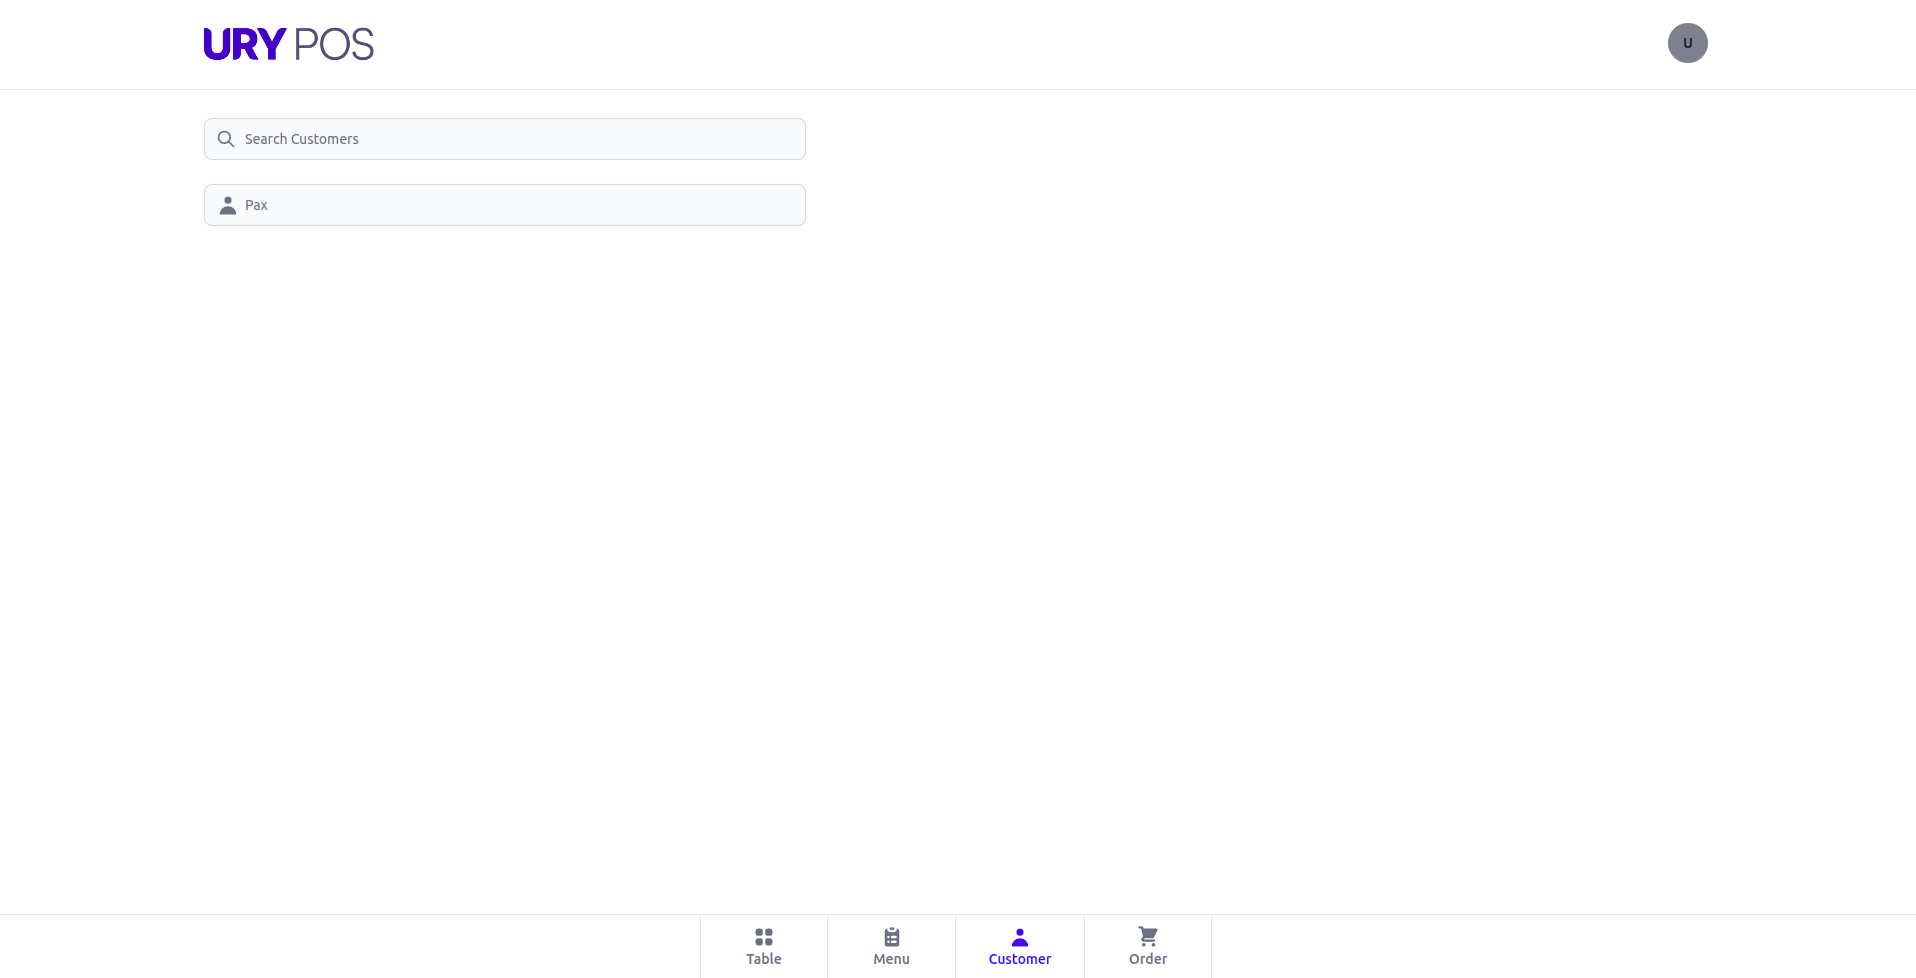
Input customer details and the number of guests (Pax Count) in Customer Info Tab.
-
For returning customers, URY POS displays their top three ordered items in Favourite item section.
-
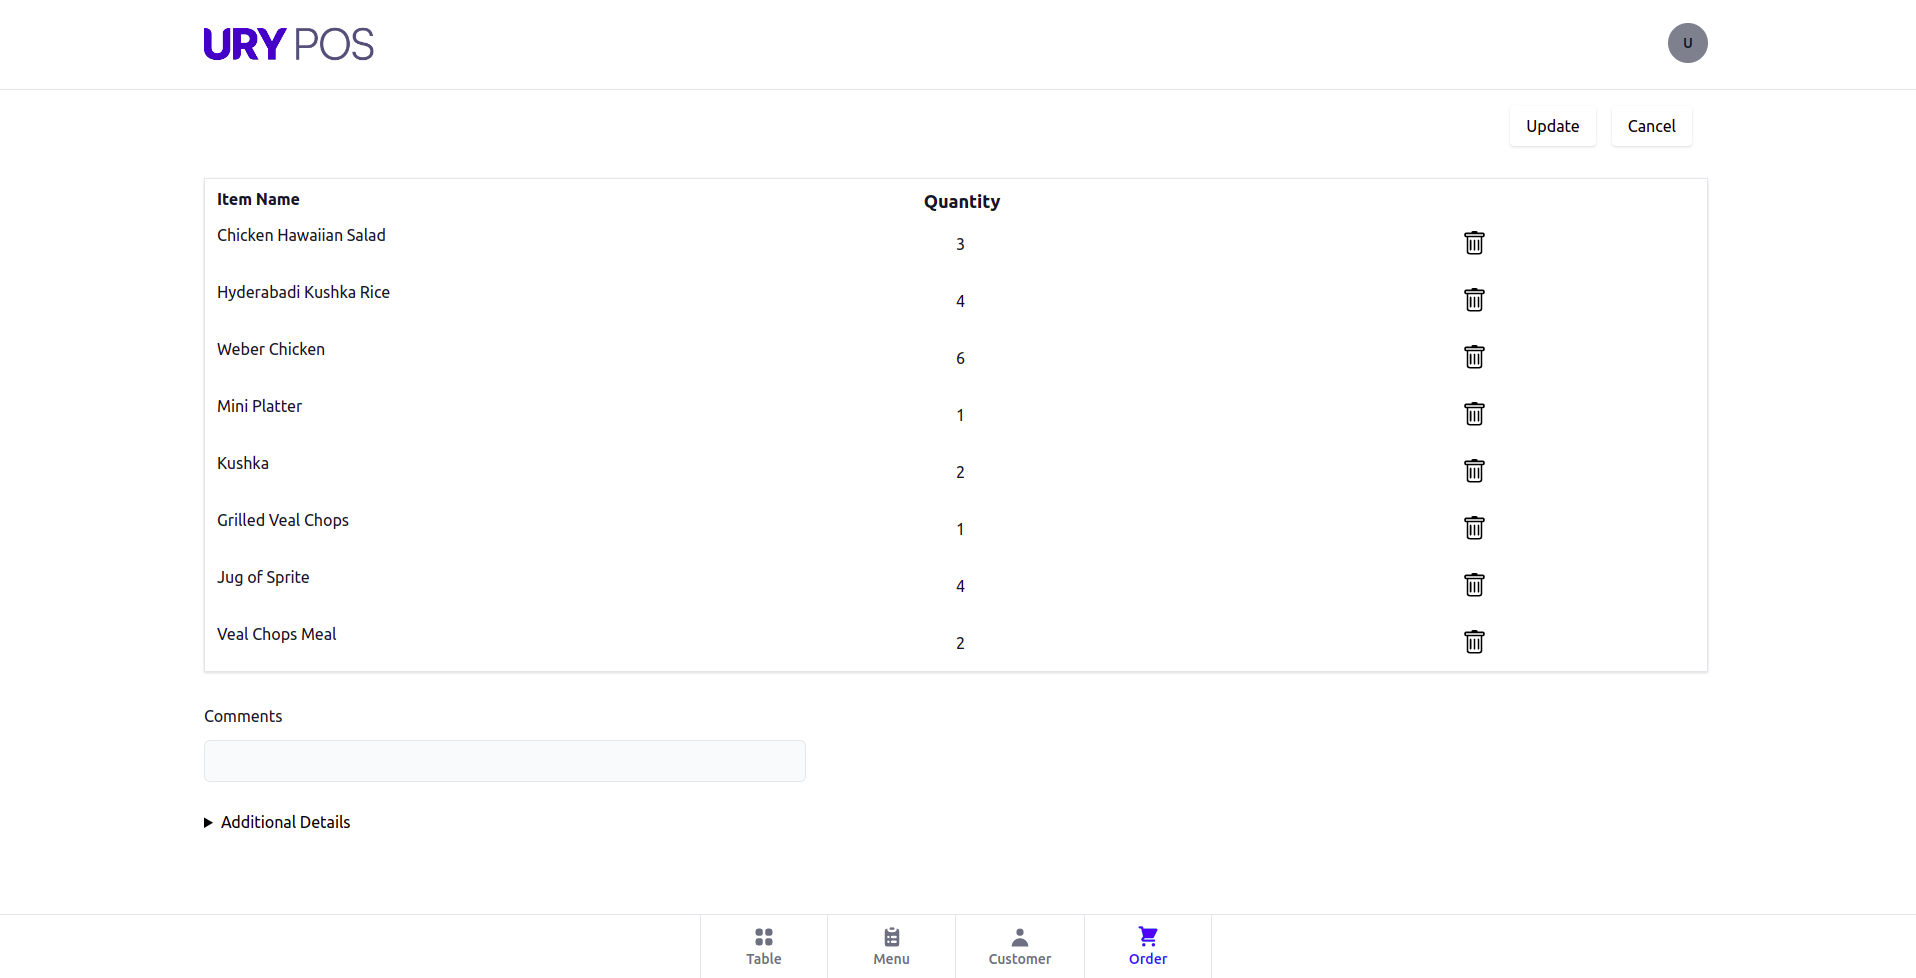
In Order info page show selected menu items in a list view.
-
Quantity adjusted can be adjusted from here also by clicking on the quantity field.
-
Action Buttons in Table Order are ,
- Update : Used to generate an order, ie. creating a POS invoice in draft status.
- Cancel : To cancel order (draft invoice) and clear the table.
-
After triggering the
UpdateButton, a restaurant order is placed, and the POS invoice ID is then updated in the 'Inovice' field for reference.
Order Print
-
URY offers three printing methods.
-
QZ printing
- You may need first install QZ Tray if is not already on your system
- You have to create a file called privateKey.js and insert your private key in this file
- To setup QZ , POS Profile List > POS Profile > QZ Print > QZ Host to enable QZ printing.
- If there are multiple devices for printing , Private IP of the machine hosting the QZ server is given as 'QZ Host'
- Otherwise, use 'localhost' or 127.0.0.1 in the 'QZ Host' data field.
-
Network Printing
- Network printing is an alternative option, which functions when QZ printing is in a disabled state.
- To setup it POS Profile List > POS Profile > Printer Settings
- At the table, tsetting for the printer name is provided with the checkbox 'Bill' set to true.
- The printer name correspond to printer configured in Network Printer Settings in ERPnext.
-
Websocket Printing
- If Either of QZ and Network Printing are not configured , URY POS will call websocket printing.
- Page can be accessed in
/app/websocket-printin your browser
-
Invoice Settlement
- Click the
Invoice iconto navigate to the recent order page. Invoices can be settled by selecting individual invoices from the list. - You need to select the role that you need as a cashier in the POS Profile's "Role Allowed For Billing" field
- Also can block table order to by selecting particular role in "Role Restricted For Table Order" field
- Available filters in Recent order
- Draft : List POS invoices in draft status that are printed from table orders and those taken from takeaway orders.
- Unbilled : POS invoices in draft and not billed from the Table Order.
- Paid : Contains paid POS invoice
- Consolidated : Shows consolidated POS invoice
- Return : Shows return POS invoice
- To enables Cashiers to view all statuses (Paid, Consolidated, Return Invoices) in the recent order check "Allow Cashier To View All Status" field in POS Profile
- Available Buttons in Recent order
- Edit:To edit draft POS invoice
- Print Receipt:To print POS invoice
- Make Payment:To make payment of POS invoice.Payment supports multiple payment options.
Gallery
POS
Screenshots
URY POS
Screenshots
